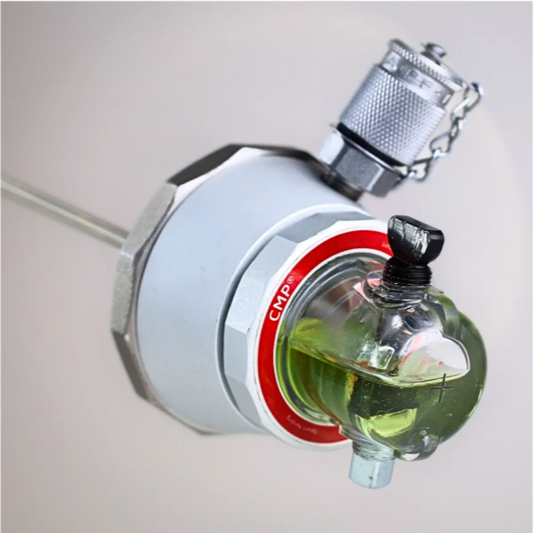
Beacon is an oil level alert system for use with the Luneta Condition Monitoring Pod (CMP) and the Oil Level Sensor.
Beacon alerts with a bright red flash when the On Level Sensor detects a drop in oil level. The Oil Level Sensor is installed inside the CMP sight glass and is
connected to the Beacon with a long cable. The Beacon and sensor are battery-powered for convenient installation, and the Beacon also features a high-strength magnet for attaching to any ferromagnetic surface with a good line of sight.
This kit includes a brand new CMP ready to install on your equipment. This CMP has a modified Sight Glass that is compatible with the Oil Level Sensor. If you would like to upgrade an existing CMP, click here.
Light it up before it locks up.

Luneta Beacon is your first line of defense
Early Alerts, zero Surprises
#1. Battery operated
Beacon is ready to go right out of the box and will remain charged for a year
#2. Bright LEDs
Makes performing status checks a cinch, even in harsh environments
#3 Easy Installtion
A strong magnet makes placing the Beacon quick and easy
1
Battery Operated
The Beacon comes with 4 Energizer Ultimate LR91 batteries so you can get started monitoring right away.
2
Bright LEDs
Beacon features bright LED's to alert you to drops in oil level.
They have a minimal power draw even when flashing continuously.
3
Easy Installation
A super strong neodymium rare earth magnet makes for easy and secure installation on the side of your equipment.
6
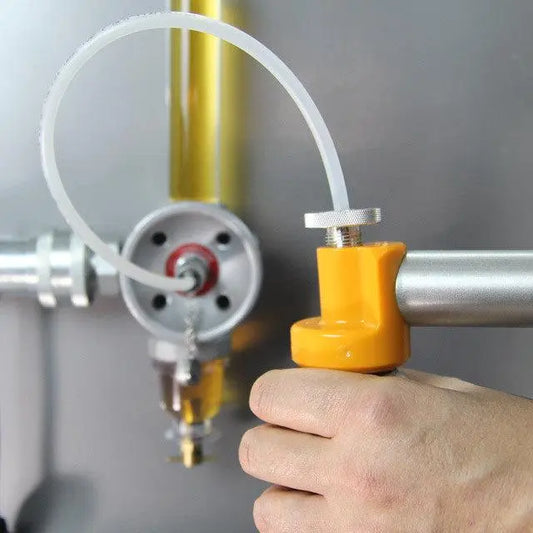
Durable Cable
A thick and durable cable sends signal from the sensor to the Beacon Module.
4
Works with CMP
The CMP's best friend.
Beacon is the ultimate upgrade for CMP. They work together to monitor and alert you to changes in your oil level in real time.
5
Oil Level Alert
Beacon and CMP work together to deliver real-time oil level alerts.
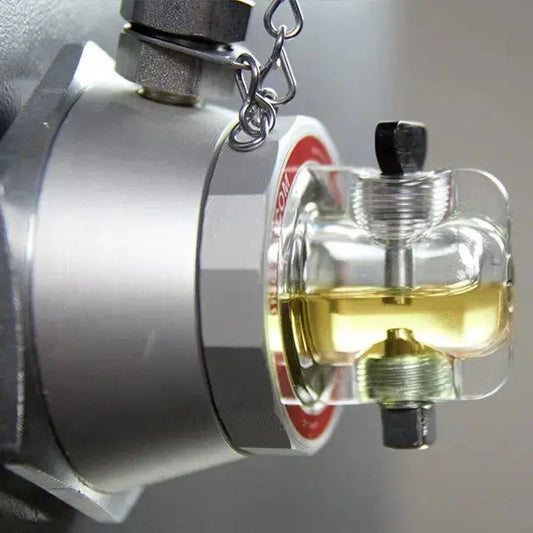
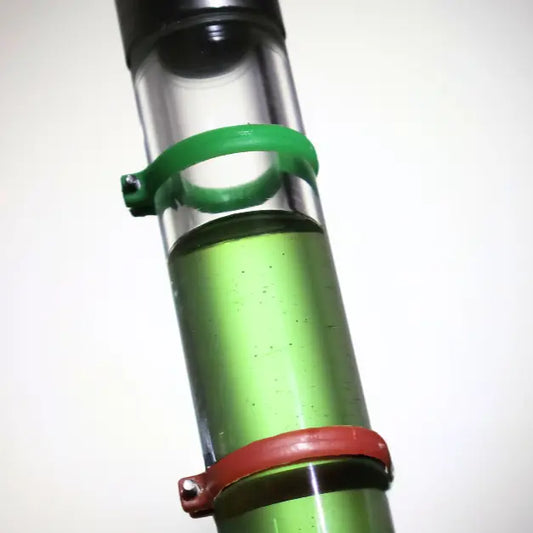
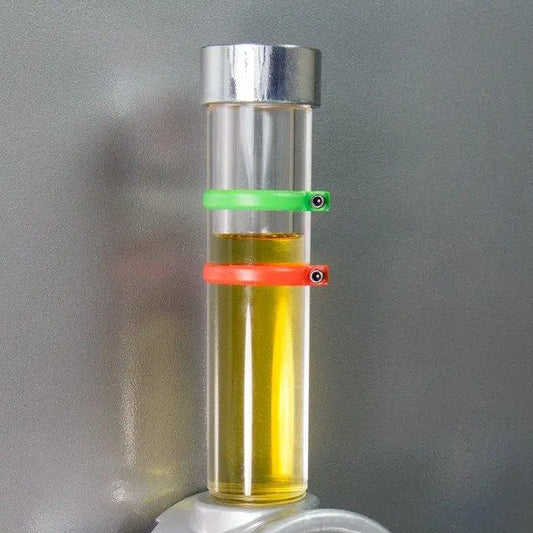
The Beacon Sensor is installed into a modified CMP Sensor Sight Glass.
No need to replace existing CMPs, simply swap the classic Sight Glass out for the new Sensor Sight Glass.
The Beacon Sensor is installed into a modified CMP Sensor Sight Glass.
No need to replace existing CMPs, simply swap the classic Sight Glass out for the new Sensor Sight Glass.
#4. Works with CMP
The Beacon works seamlessly with CMP. Existing or older CMPs can be modified to fit the new Oil Level Sensor

#5. Innovative Oil Level Sensor
The Oil Level Sensor works to detect drops in oil level in real time
#6. Durable Cable
Durable PVC cable is resistant to harsh environments
Customers Also Bought


Frequently Asked Questions
What is Beacon?
Beacon is a digital alert system for use with the Luneta Condition Monitoring Pod (CMP) and Luneta Oil Level Sensor.
What tools are required for installation?
Beacon does not require special tools. However, the CMP and Sensor will require a wrench and thread sealing paste.
What is included with the Beacon Kit?
1 Beacon Module, 1 Beacon Cable, 1 Oil Level Sensor, 4 Energizer Ultimate LR91 batteries, and 1 CMP with pre-installed Sensor Sight Glass.
I already have a CMP, can I purchase just the Beacon components?
Yes! Please reach out to our sales team for assistance with retrofitting existing CMP's to be compatible with the Beacon.
Still have questions?
Fill out the form below and we will get back to you soon, usually within 24 hours.
|
Order By Phone Call: 1-888-742-2021 Contact Luneta Contact Us |

© 2026 Luneta LLC.


