PREPARATION
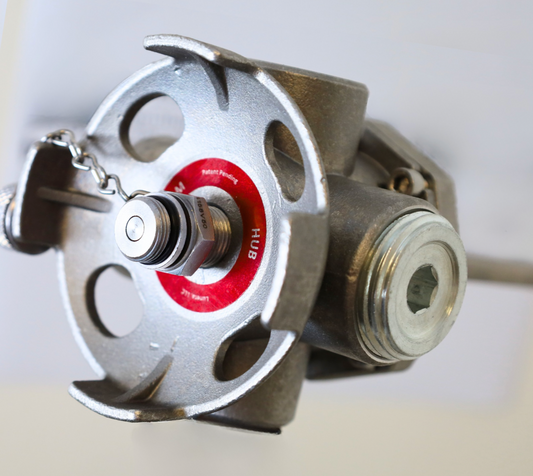
1. Confirm that the sampling port identification plaque
corresponds to the work order.
2. As a safety precaution, use a pressure gauge to check
for high pressure.
3. Remove the sampling port cap and clean the exposed
port.
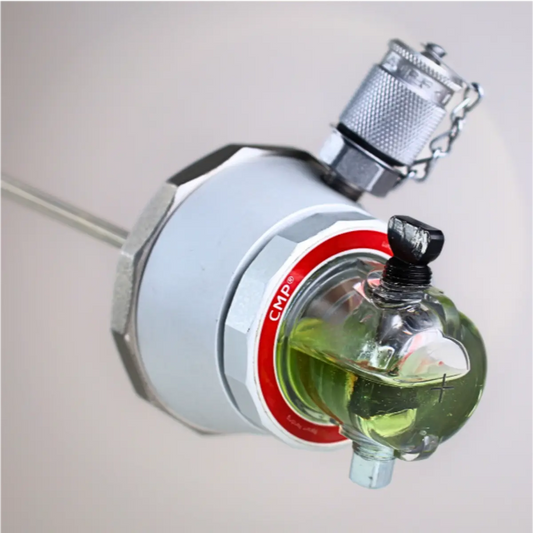
4. Do not remove Sample Bottle caps until time to sample,
as this will contaminate the bottle
ASSEMBLY
1. Cut the end of the tube at an angle, as shown. If the attached tubing is too short, cut a new length from the supplied tubing.
2. Insert angled end of the tubing through the hole in the top of the knurled nut.
3. Tighten the knurled nut so that the tube is secure.
PURGING
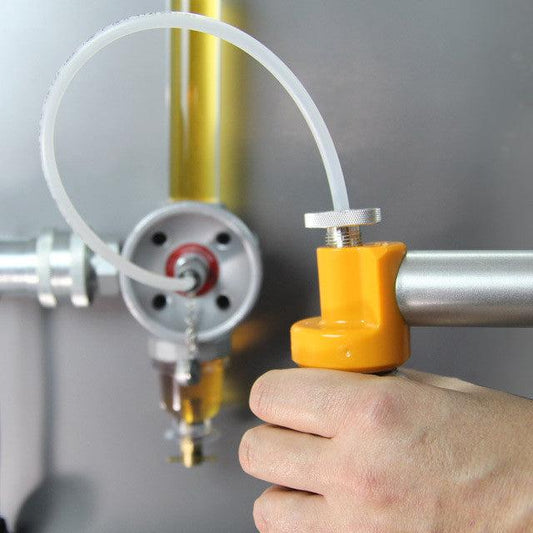
1. Thread the Purge Bottle onto the Vacuum Pump.
2. Apply a vacuum by pulling on the plunger handle several times.
3. Purge 10x the amount of fluid sitting in the fittings between the sample port and the fluid being sampled.
4. Loosen the knurled nut to release the pressure and stop the flow.
5. Unthread the Purge Bottle from the Vacuum Pump and dispose according your company’s environmental policy.
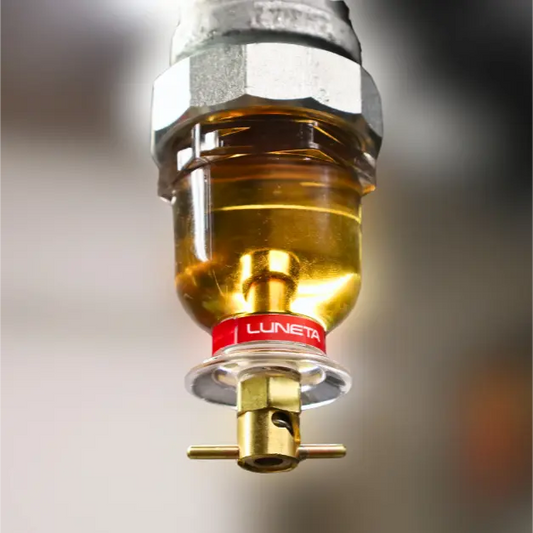
SAMPLING
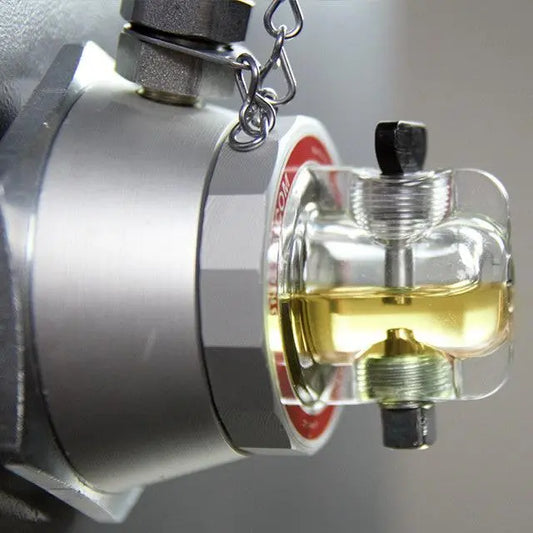
1. Place a Sample Bottle inside the supplied zip-top bag and seal closed.
2. Remove the Sample Bottle cap inside the sealed bag. This minimizes contamination.
3. Thread the Sample Bottle onto the Vacuum Pump through the plastic. Use the angled cut on the plastic tube to pierce the plastic bag.
4. Tighten the knurled nut on the Vacuum Pump, and pull the plunger handle several times to apply a vacuum.
Important: Fill the sample bottle only ¾ full.
5. Loosen the knurled nut to release the pressure and stop flow.
6. Unthread the sample bottle from the vacuum pump and
replace the cap. Do not remove from the plastic bag until the sample bottle cap is secure.
7. Label the sample bottle accordingly and send it to the
lab for analysis.
CLEANING
1. Detach the tubing from the Vacuum Pump and Adapter
and discard the tubing.
2. Clean the Vacuum Pump and Adapter and place inside a
clean zip-top bag for storage.
3. Replace the sampling port cap.
4. Wipe up any spilled fluid.